Creating a working domain
Overview
1. Launching the Settings application"
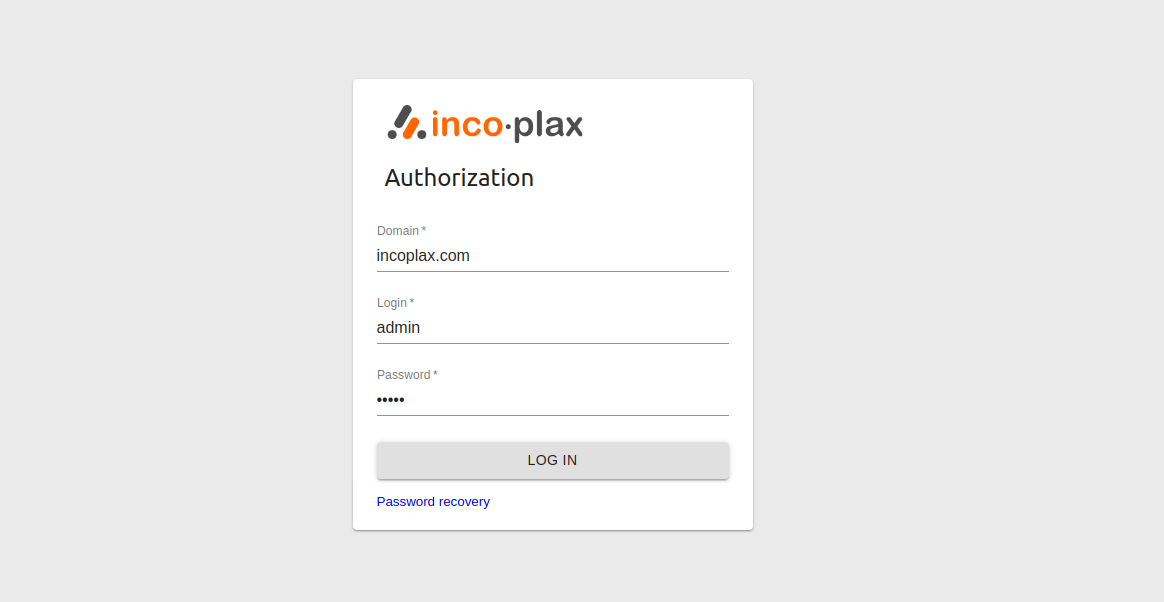
1.1) Open a browser and enter the IP address of the server in the address bar.
1.2) Authorize in the master domain that was set during installation on the master server in step 7, under the admin account and a similar password:
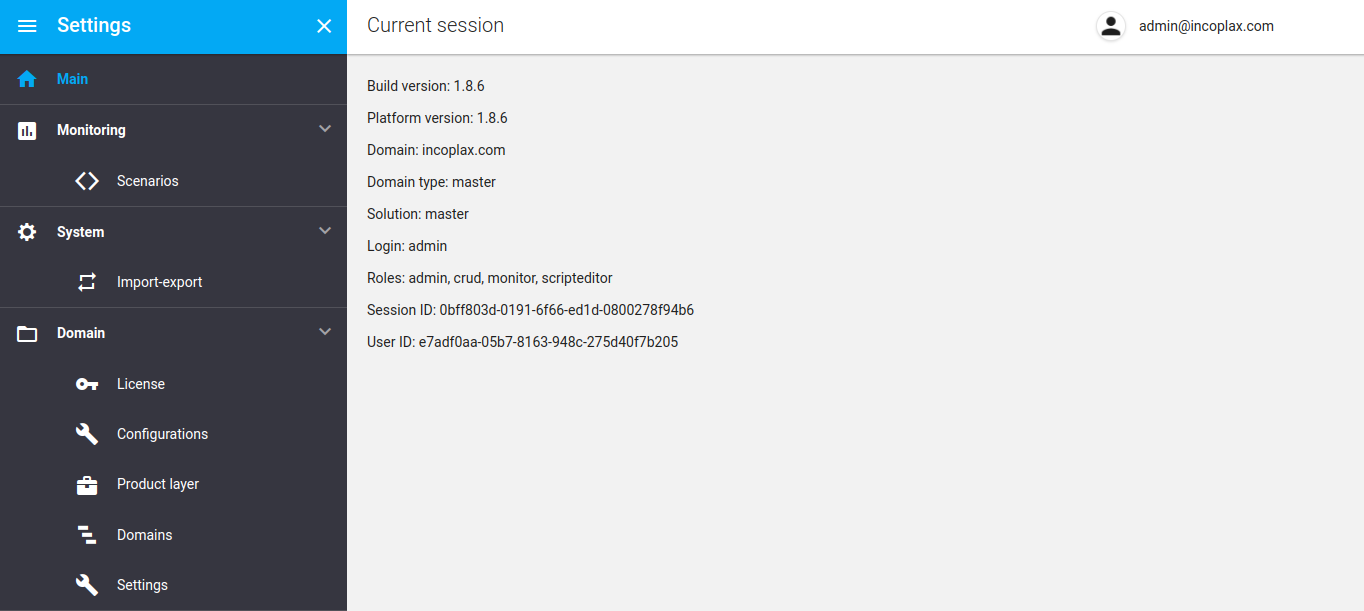
1.3) Launch the "Settings" web application":

2. Domain creation
Open the "Domains" section in the left menu, click the "Add" button, enter the domain name:
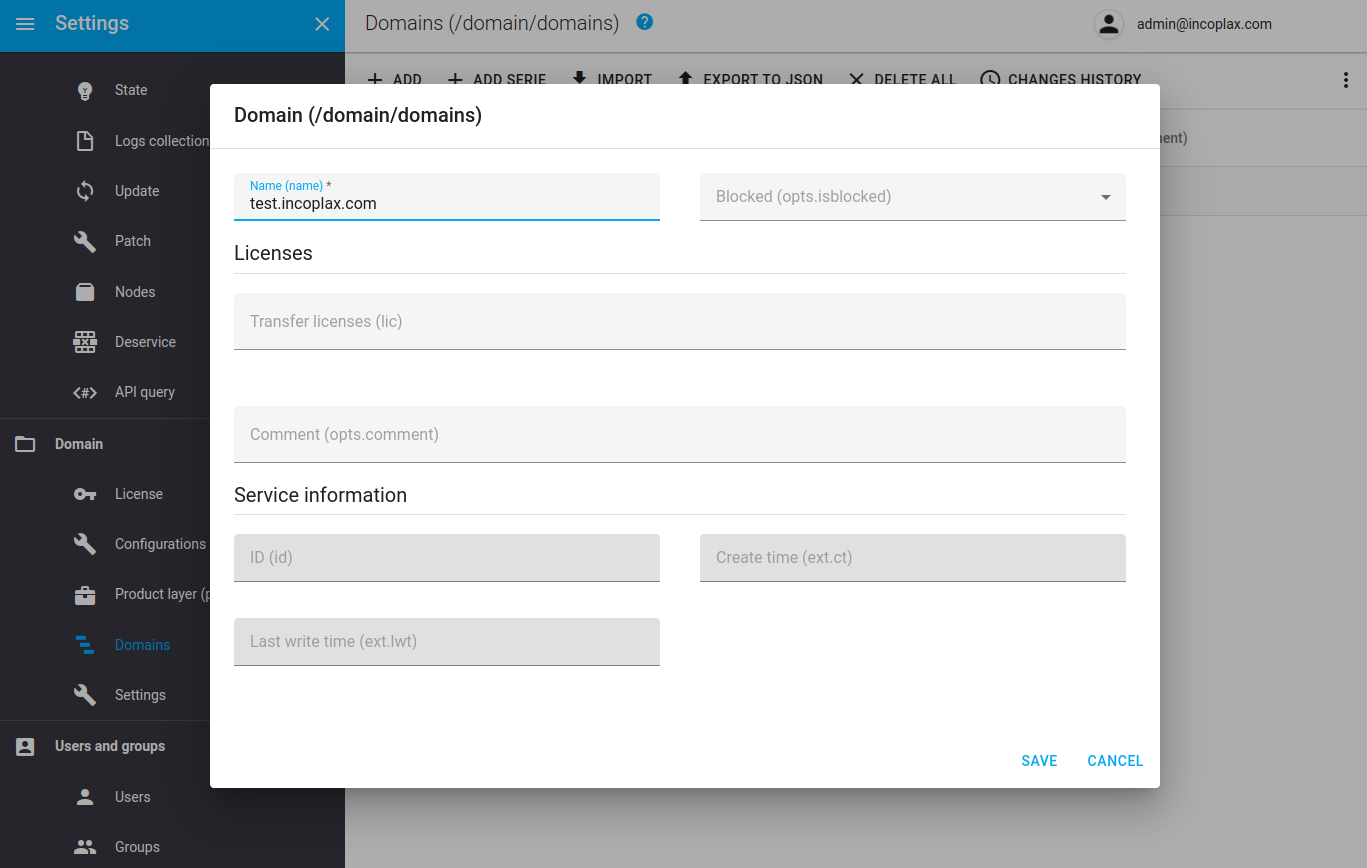
Save domain.
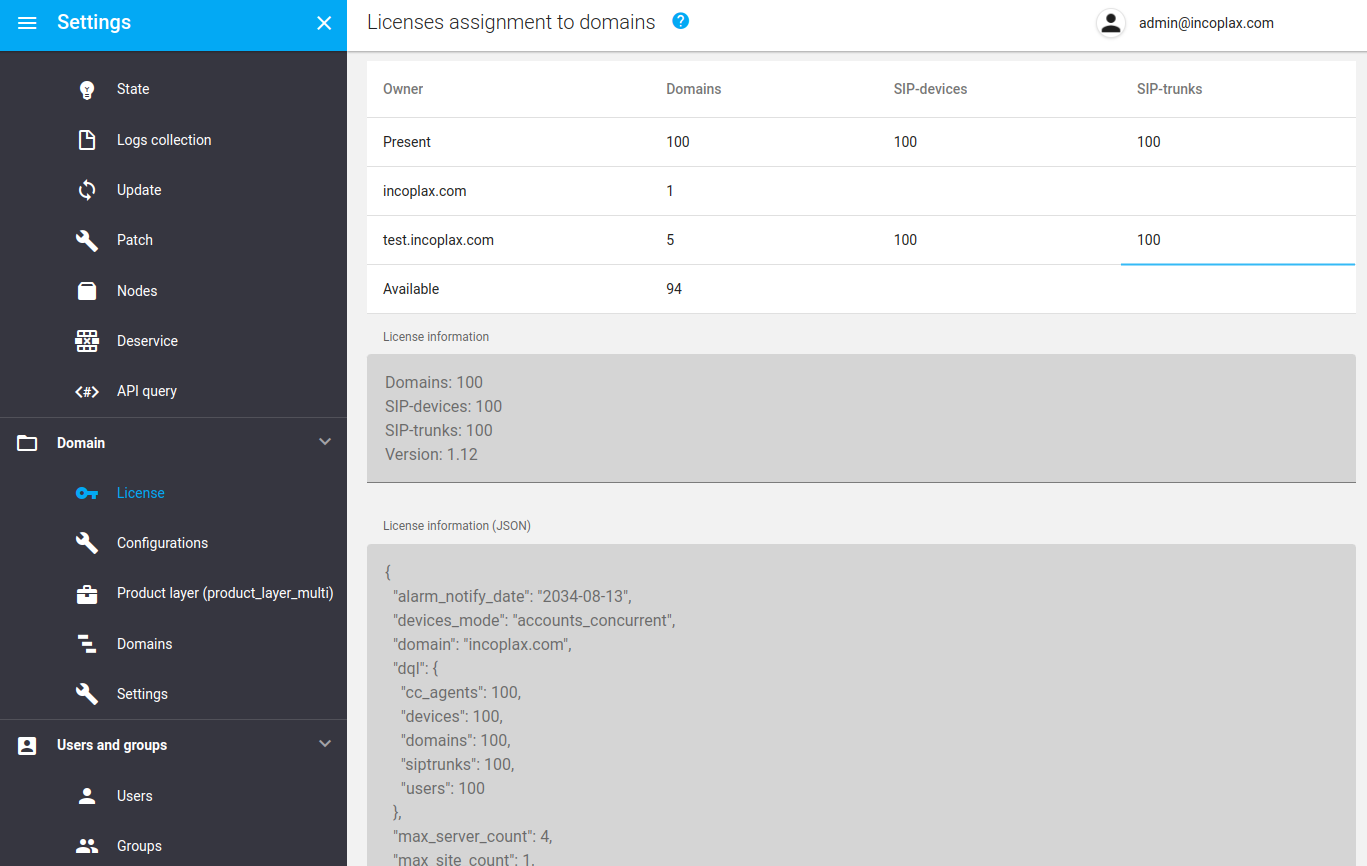
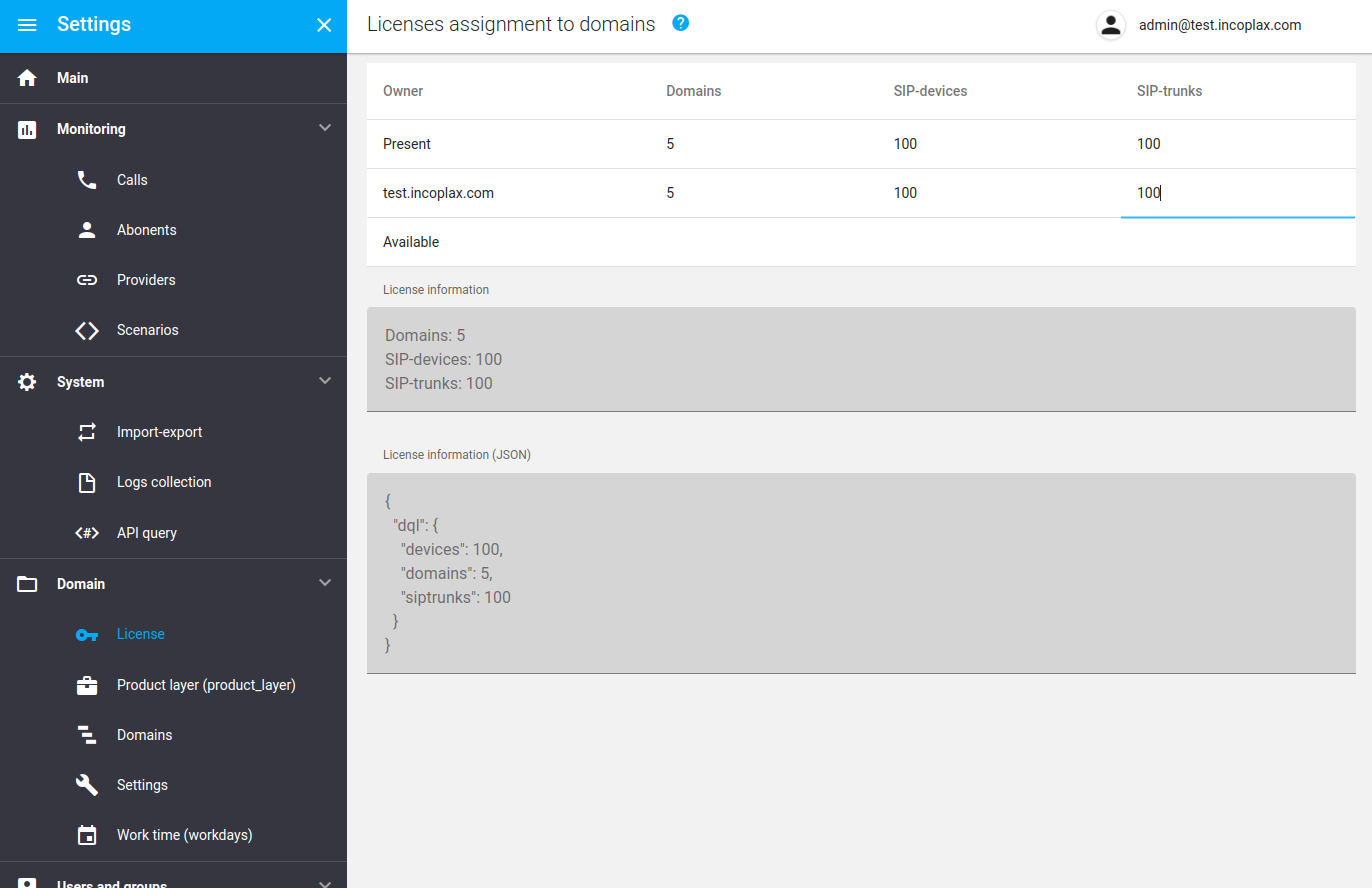
3. Transfer of quantitative licenses
3.1) Open the "Licenses" section in the left menu, and assign the required number of licenses to the created domain:
3.2) Refresh the page (e.g. by pressing F5).
3.3) Switch to the created domain:
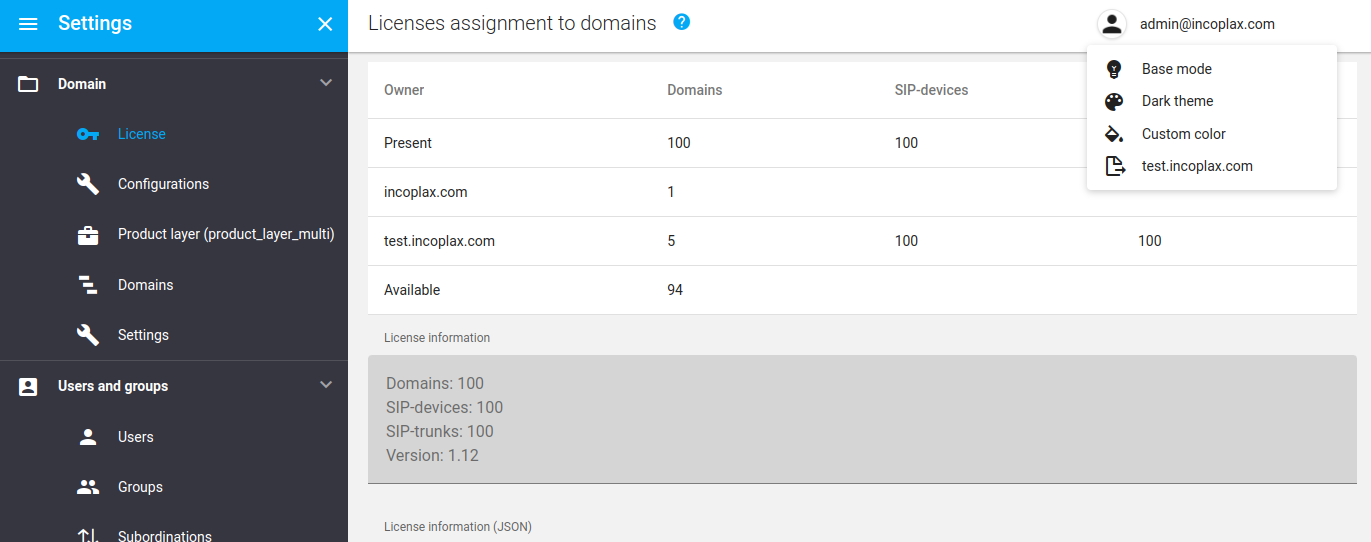
3.4) Open the "Licenses" section in the left menu, and reserve some of the licenses transferred from the parent domain for use in the domain:
The domain is created and prepared for customization!
Now you can authorize directly in it by entering its name in the login window.
Subsidiary domains can be created in any domain of any level. To do so, the domain must have a sufficient number of domain creation licenses reserved for use.
To switch between domains, you can:
-
Log out, and log in to another domain in the login window.
-
Switch to another domain via the menu in the header (works only when authorizing on behalf of users for whom the master domain is set to automatically clone to child domains).