Creating and activating the configuration
Overview
1. Launching the "Settings" application
1.1) Open a browser and enter the server IP address in the address bar.
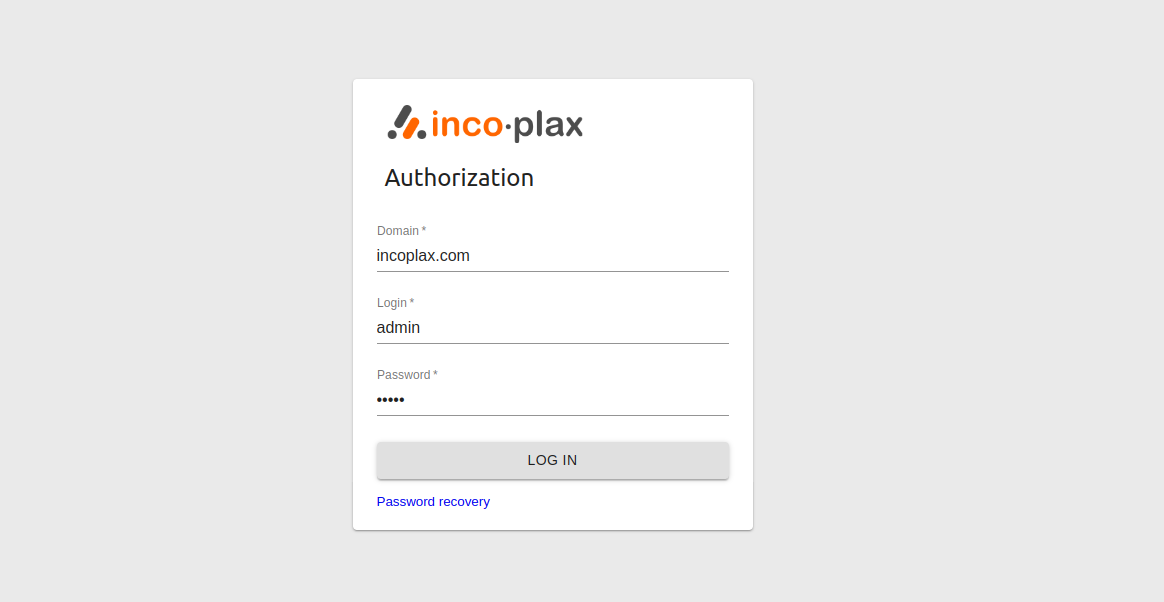
1.2) Log in to the master domain specified during installation on the master server in step 7 under the admin account with the same password:
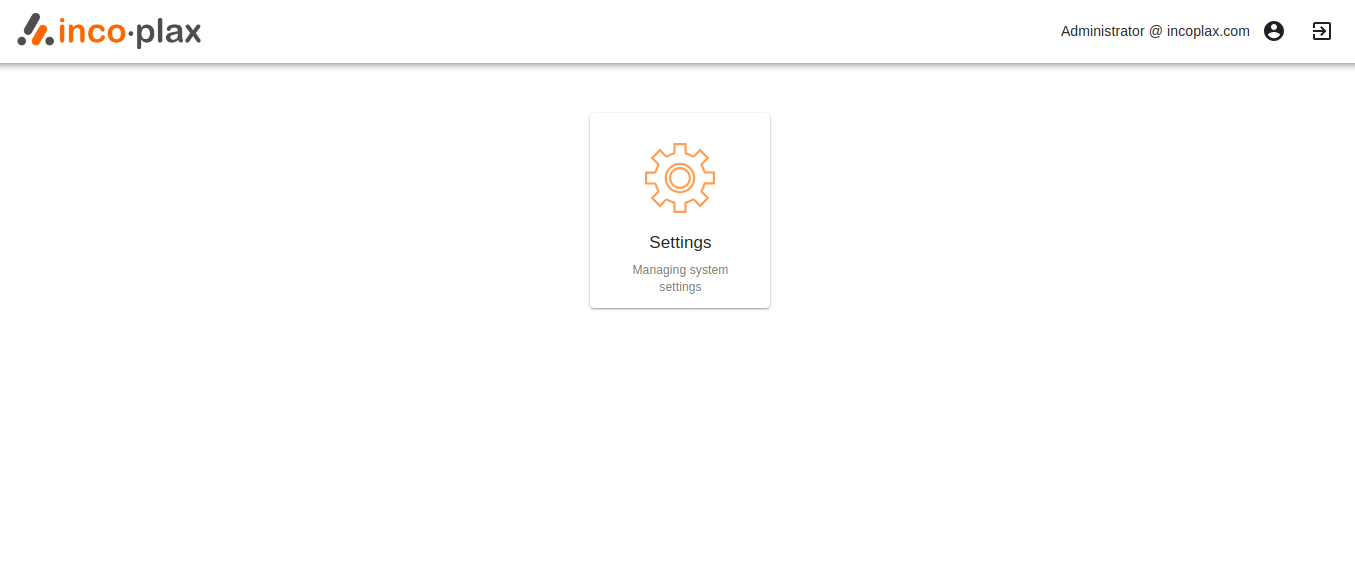
1.3) Launch the "Settings" web application:
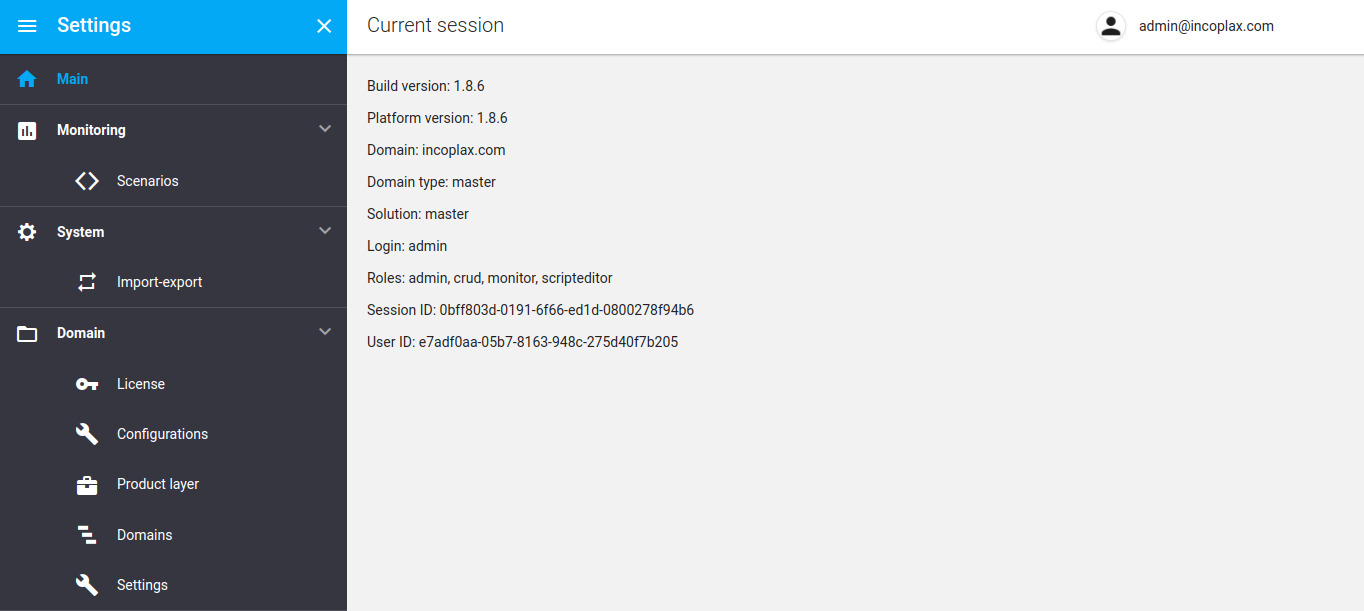
2. Creating and activating the configuration
Without this step the system cannot be assembled into a whole during installation. And the installation script on the second and subsequent servers will wait for self-identification data to appear in the configuration and will not complete.
2.1) Open the "Configurations" section in the left menu:
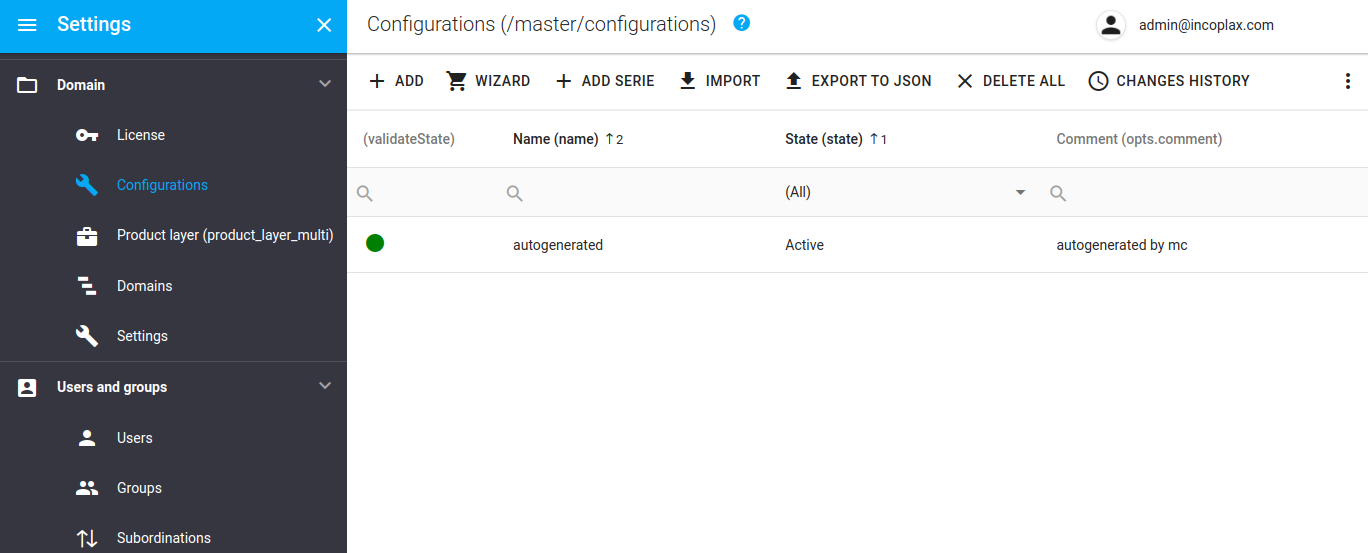
2.2) Click the "MASTER" button and fill in the values (using a single-server configuration as an example):
Important! The configuration wizard is available only when an active configuration exists. After master server installation the basic active configuration appears within 1 minute.
2.2.1) Set the configuration name; the master domain name will be substituted automatically from the basic configuration (entered during installation), and select the number of servers:
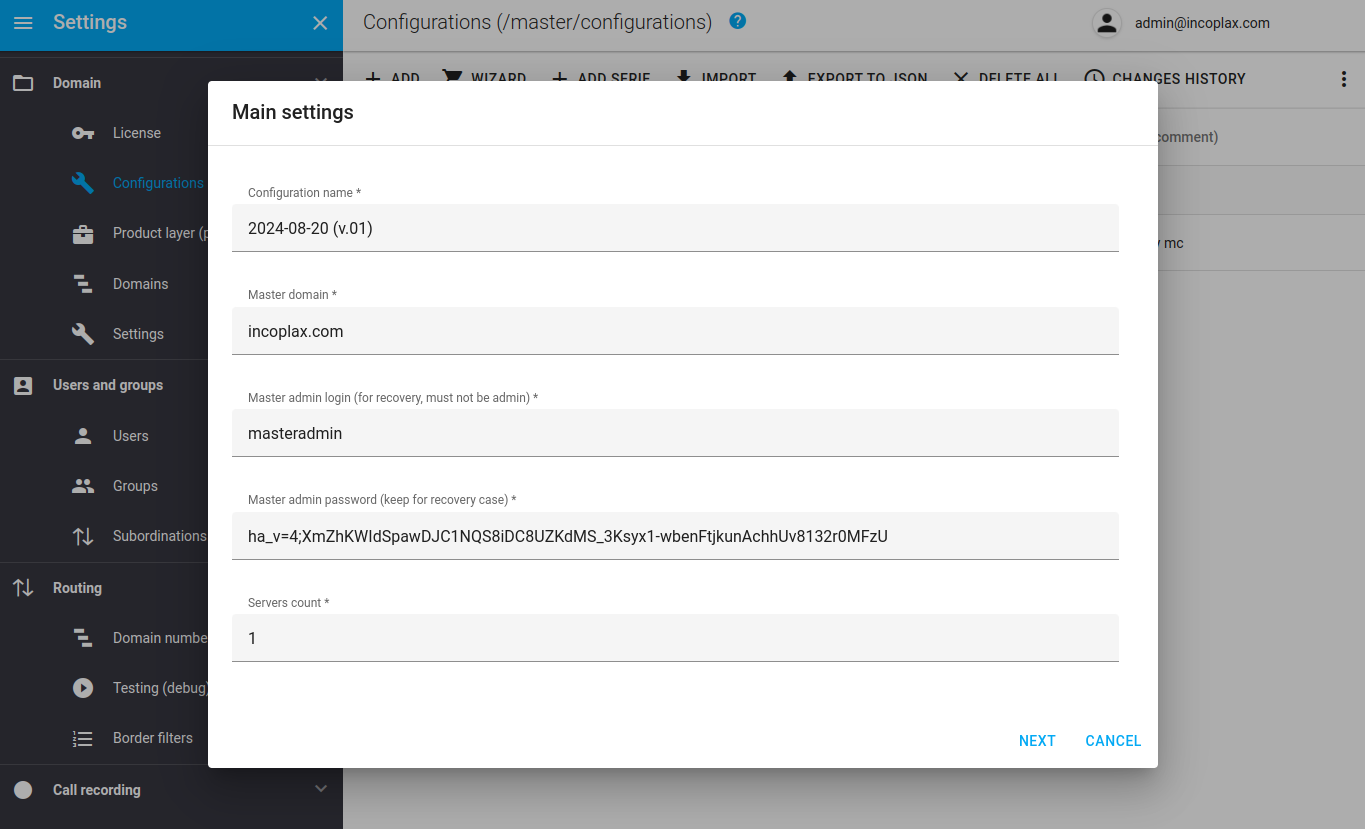
The wizard supports creating configurations for 1-6 servers; the configuration can subsequently be extended by direct JSON modification.
2.2.2) Check the master server name and IP address (substituted automatically from the basic configuration).
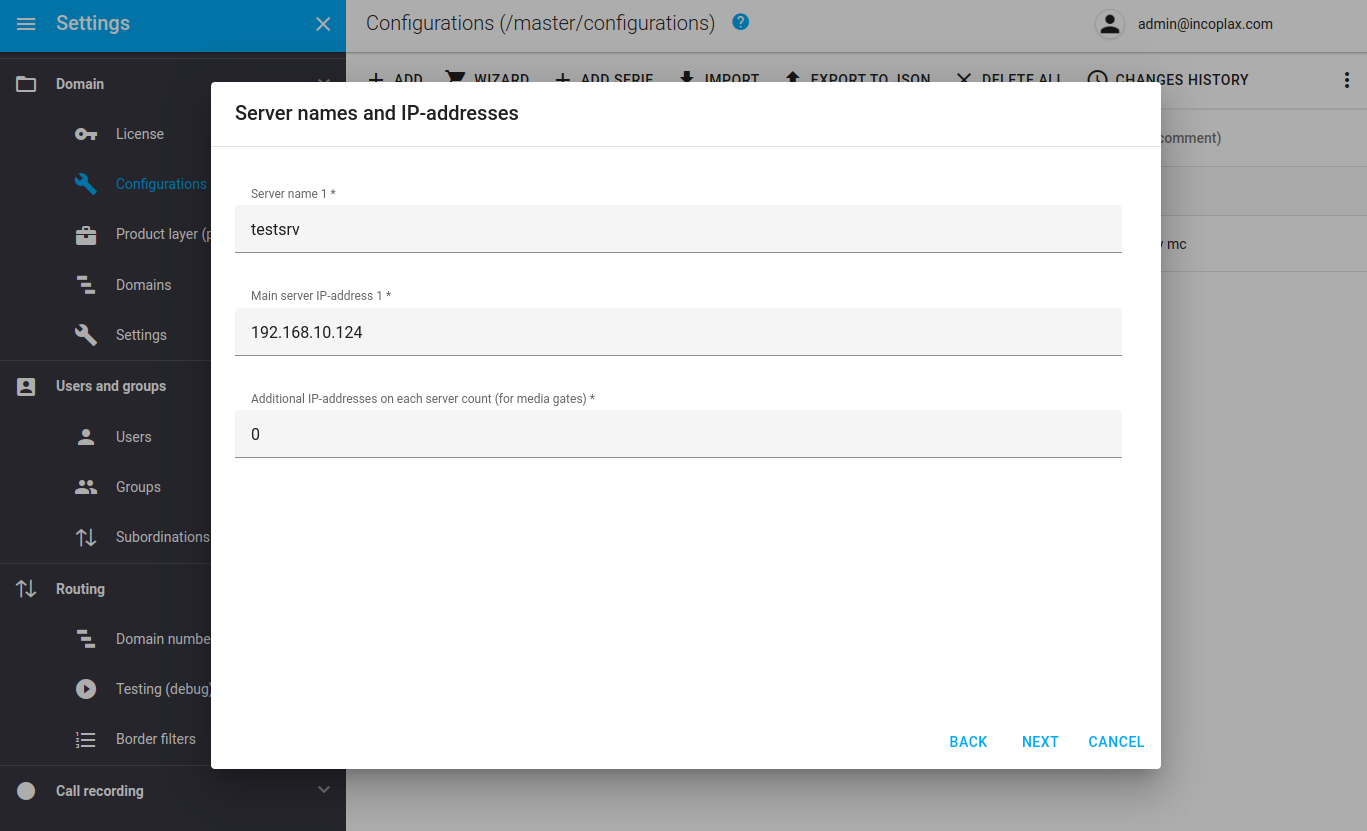
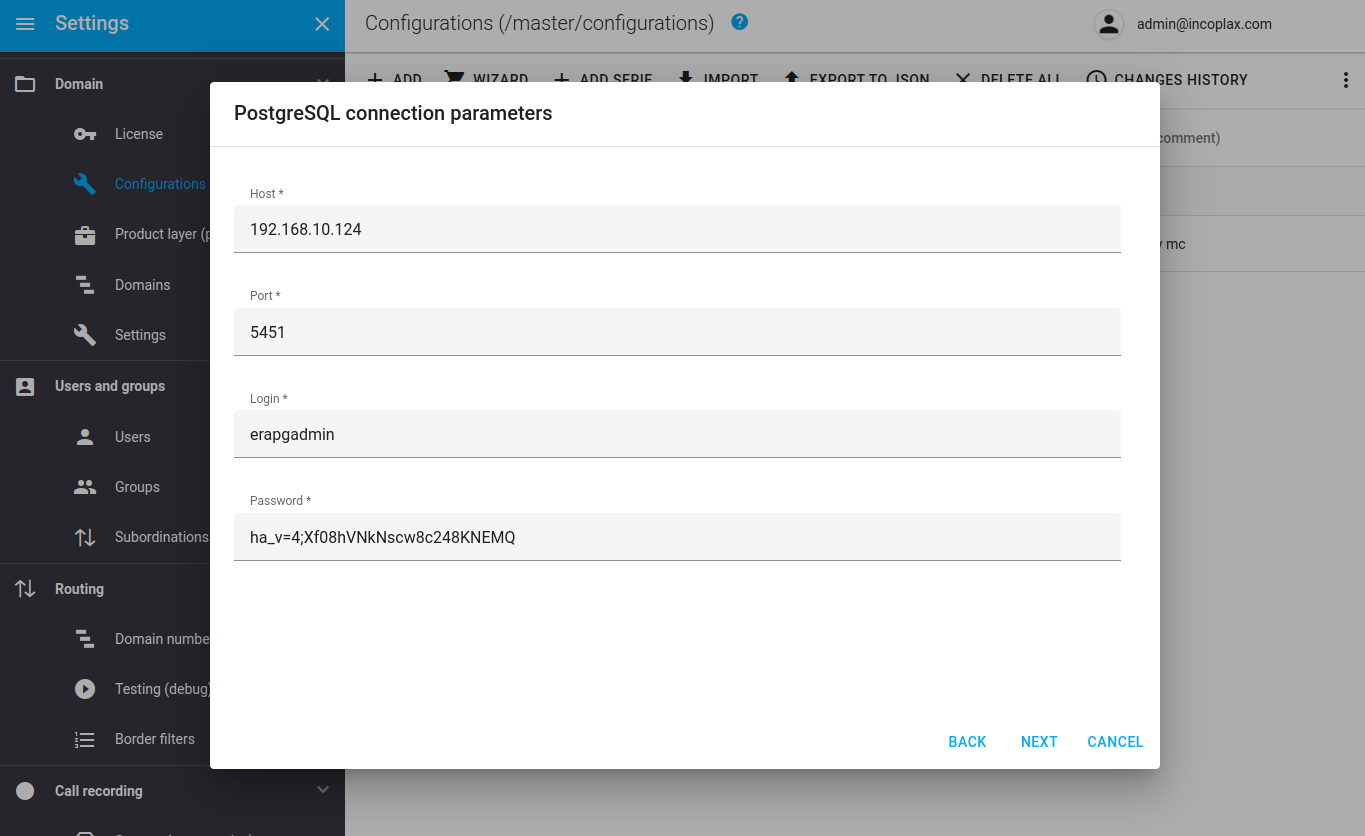
2.2.3) Check the PostgreSQL DBMS connection parameters (substituted automatically from the basic configuration):
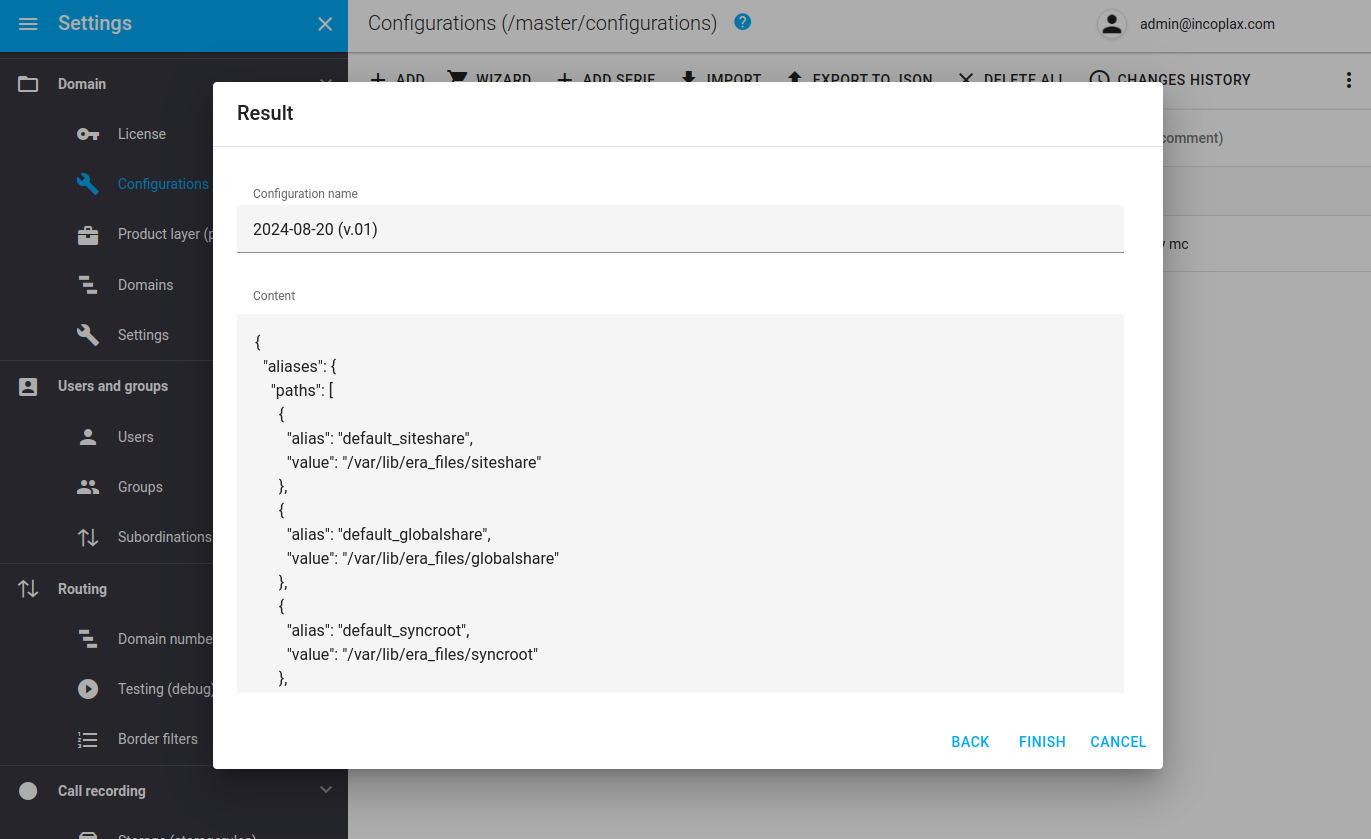
2.2.4) At the next step the generated configuration is displayed in JSON format. At this step you can use it as a basis and adjust it. Then save:
2.3) The new configuration appears in the list.
After some time, following server validation, it takes the correct status:
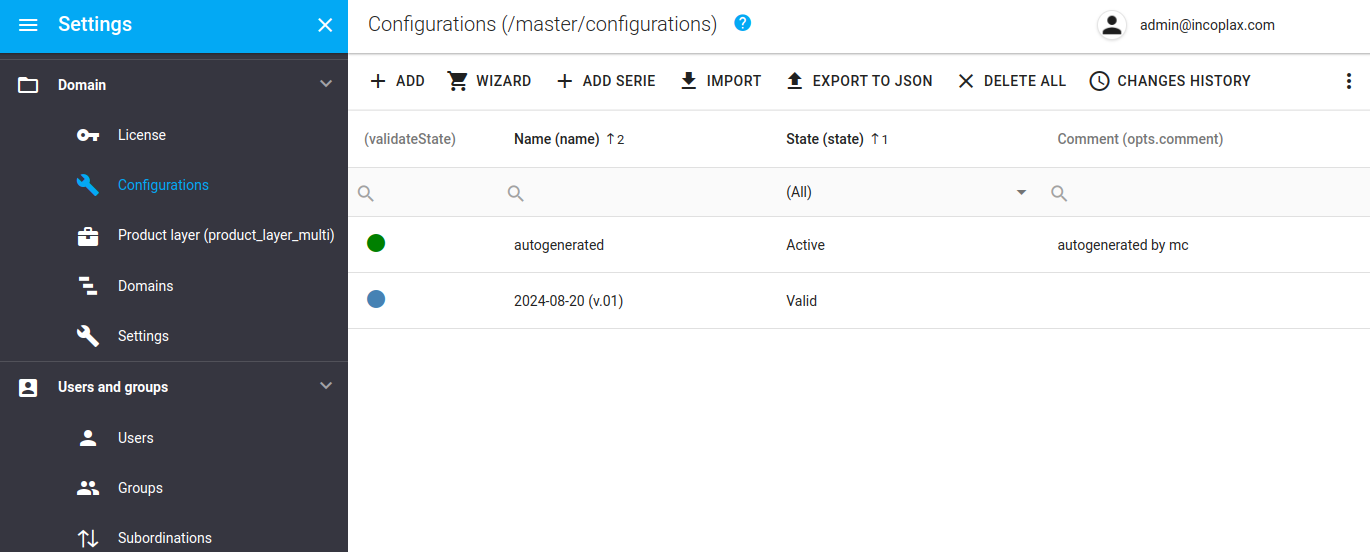
If the configuration has errors, it takes the erroneous status, and its properties contain information about the detected errors with section references.
2.4) To complete the stage, activate the configuration:
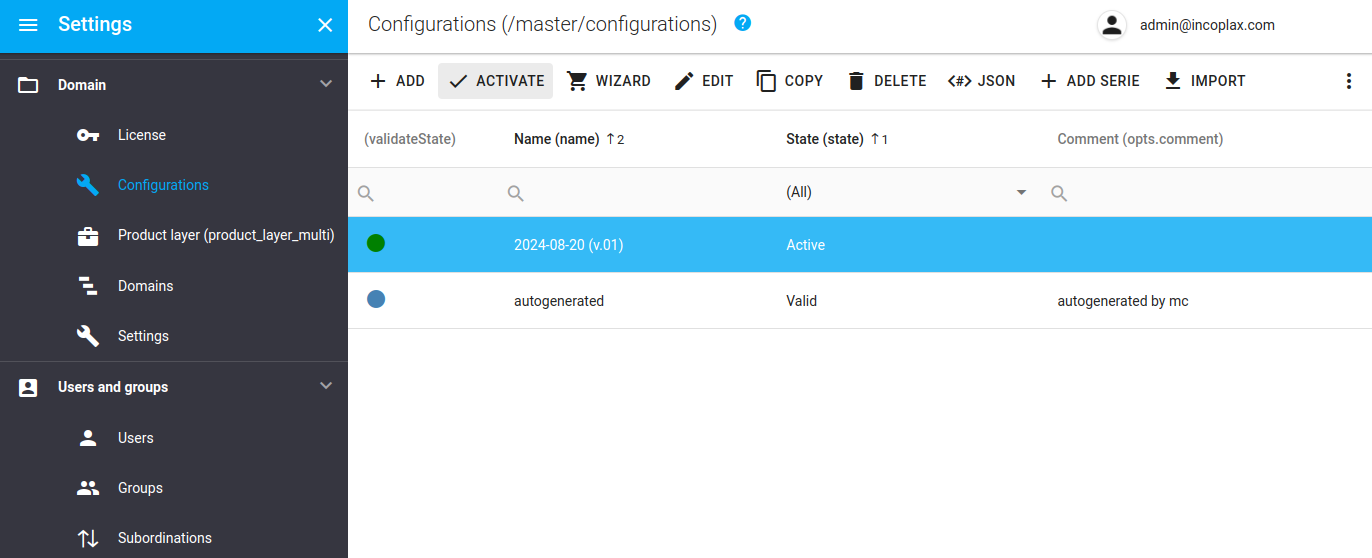
Configuration setup is complete!