Configuring video conferencing (meet)
Description
Incoplax video conferencing is an audio and video conference server implementing the SFU model. Media traffic is forwarded between conference participants with manual and automatic quality adjustment depending on settings and channel bandwidth. Traffic processing and mixing are performed only when processing recording files, so server CPU load during conferences is minimal.
A white IP address, a domain name, and an SSL certificate are required for operation.
The web server uses HTTPS and TCP port 443 by default (can be changed in the configuration file), and a dynamic port range 40000-49999 for media (also changeable in the configuration file).
Video conferencing stores data (about sessions, rooms, etc.) within a working domain, so at least one working domain is required.
This article covers the basic configuration:
-
one server used only for video conferencing
-
without additional IP addresses and certificates
-
with the standard location of video conference recording files
-
with minimal changes to the Meet server configuration
Configuration
1. Launching the "Settings" application
1.1. Open a browser and enter the server IP address in the address bar.
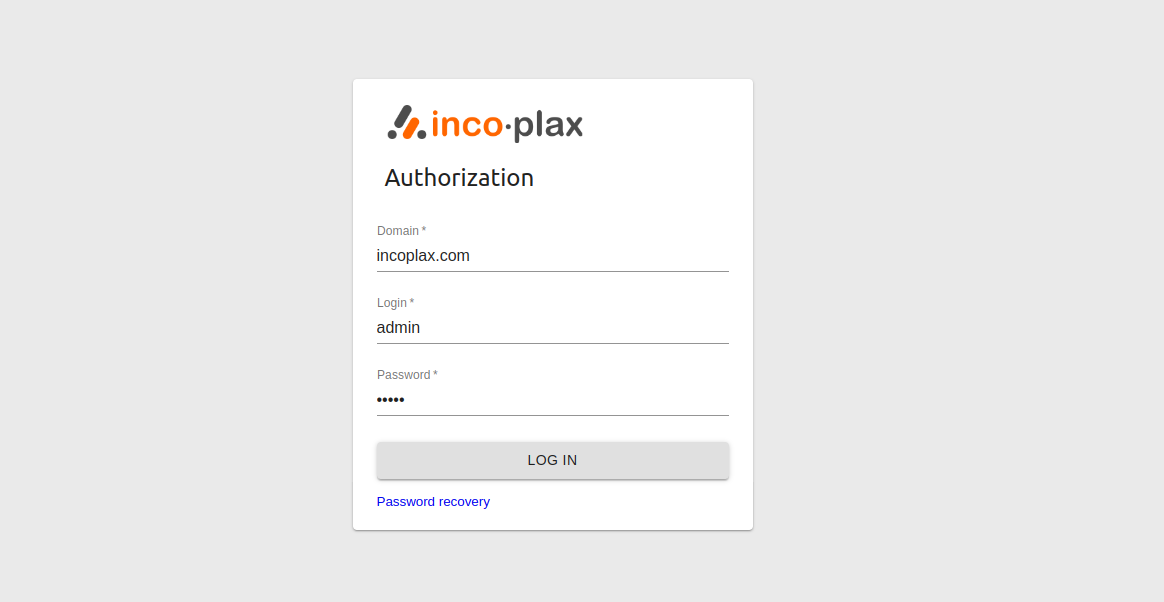
1.2. Log in to the master domain under the admin account:
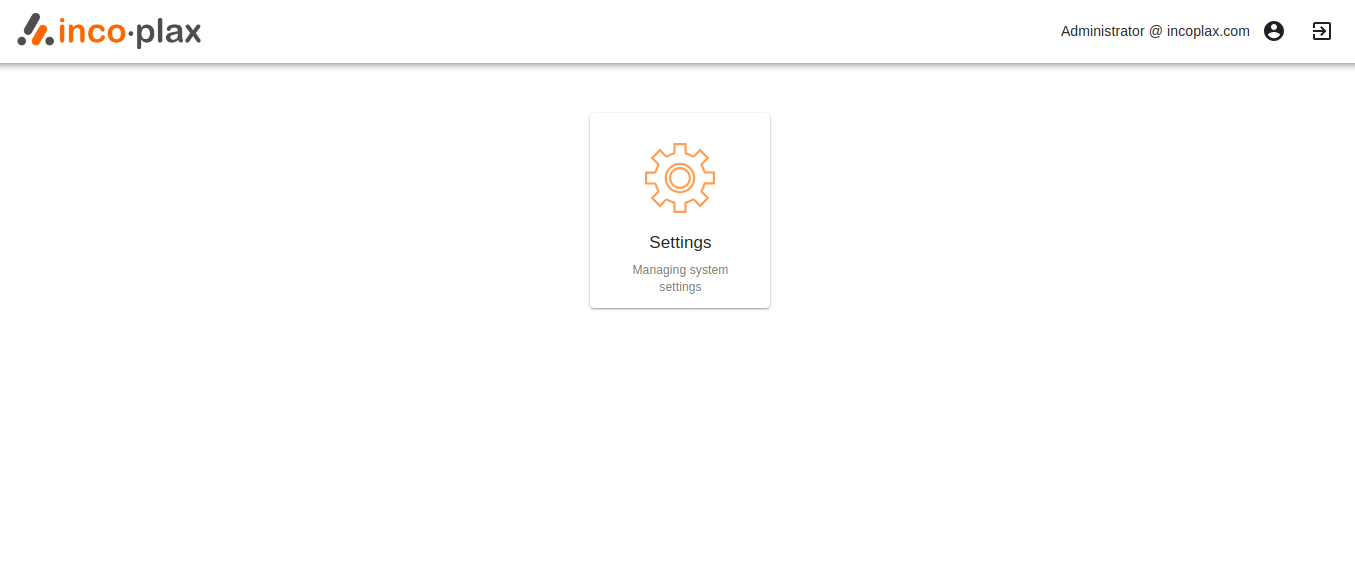
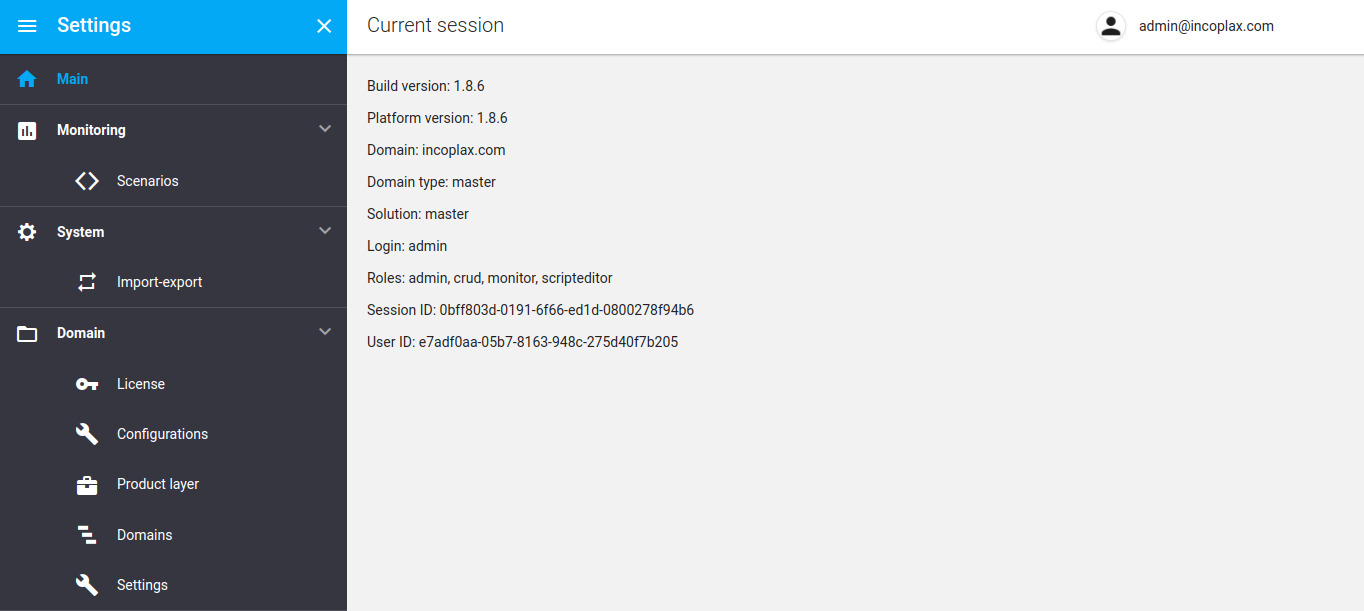
1.3. Launch the "Settings" web application:
2. Create a child domain
Within this instruction a domain is created — develop.incoplax.com, for which a certificate has been issued in advance.
Instructions for creating a working domain
3. Configure the Meet server configuration.
3.1. Open the "Domain" - "Parameters" section in the left menu.
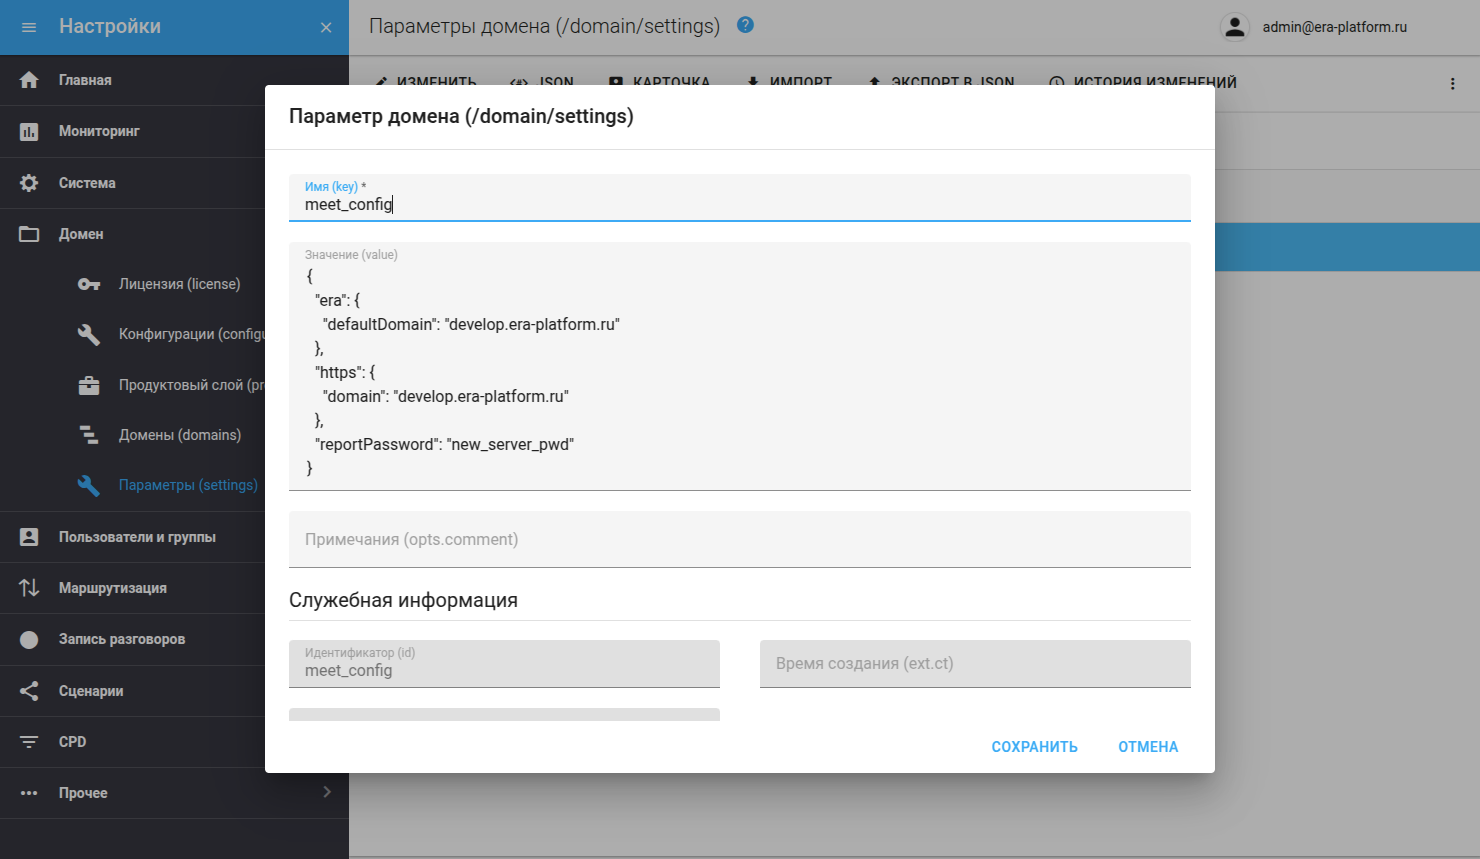
3.2. Find the meet_config parameter.
3.3. Specify the minimum required Meet server configuration parameters:
-
era.defaultDomain — the Incoplax domain within which Meet server data will be stored by default
-
https.domain — the domain used to connect to Meet via websocket secure, in this instruction — develop.incoplax.com
-
reportPassword — password for access to monitoring, report, etc.
{
  "era": {
    "defaultDomain": "develop.incoplax.com"
  },
  "https": {
    "domain": "develop.incoplax.com"
  },
  "reportPassword": "new_server_pwd"
}
4. Specify certificates
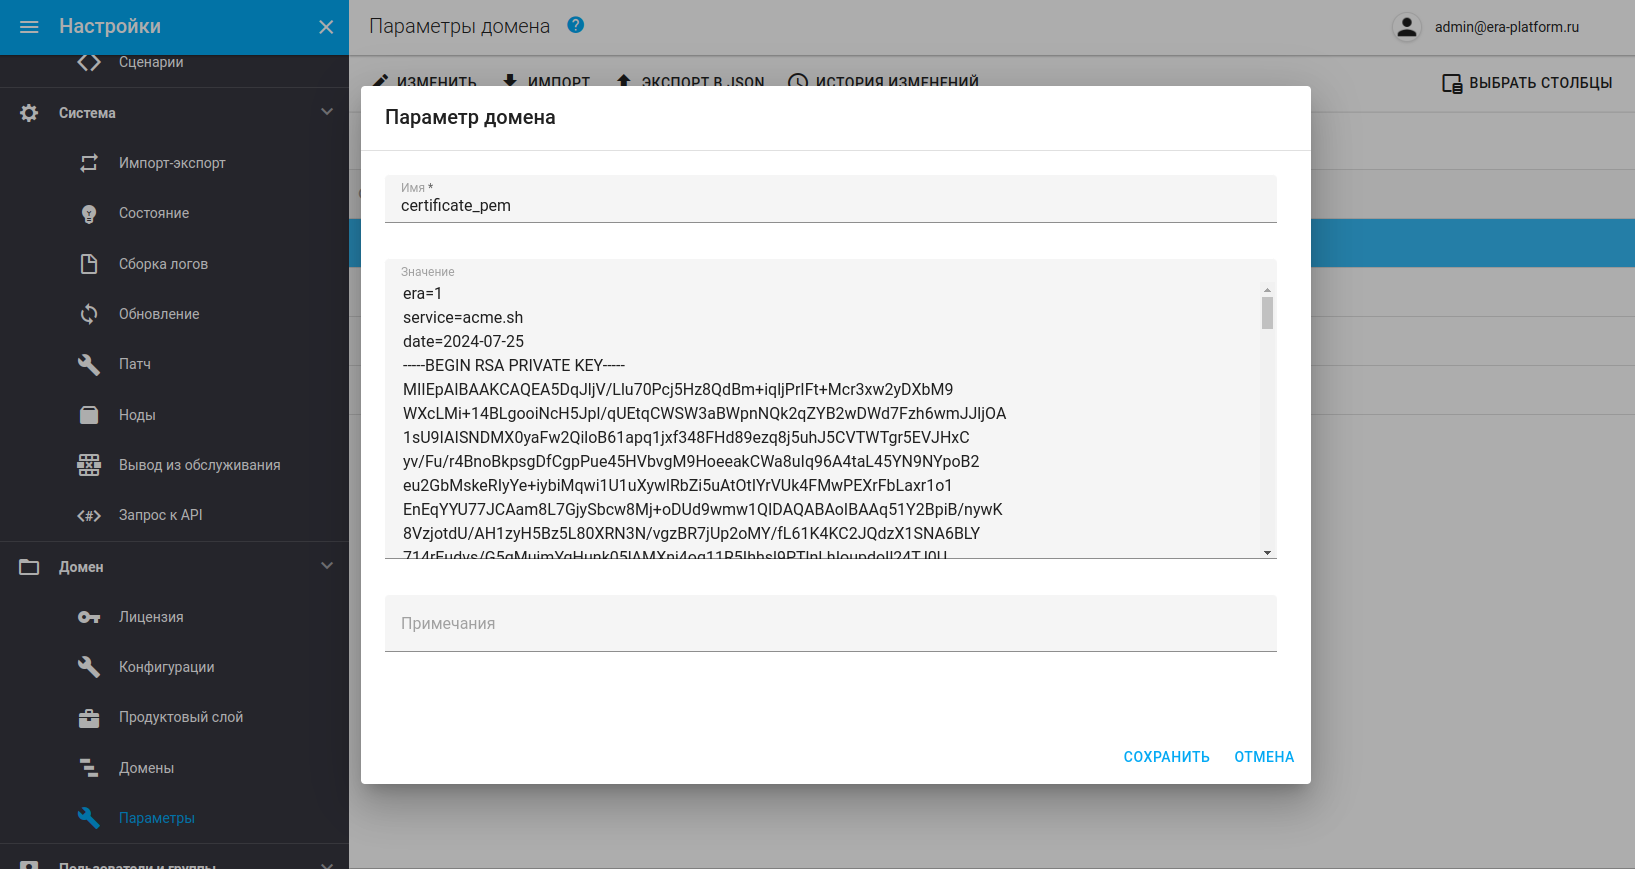
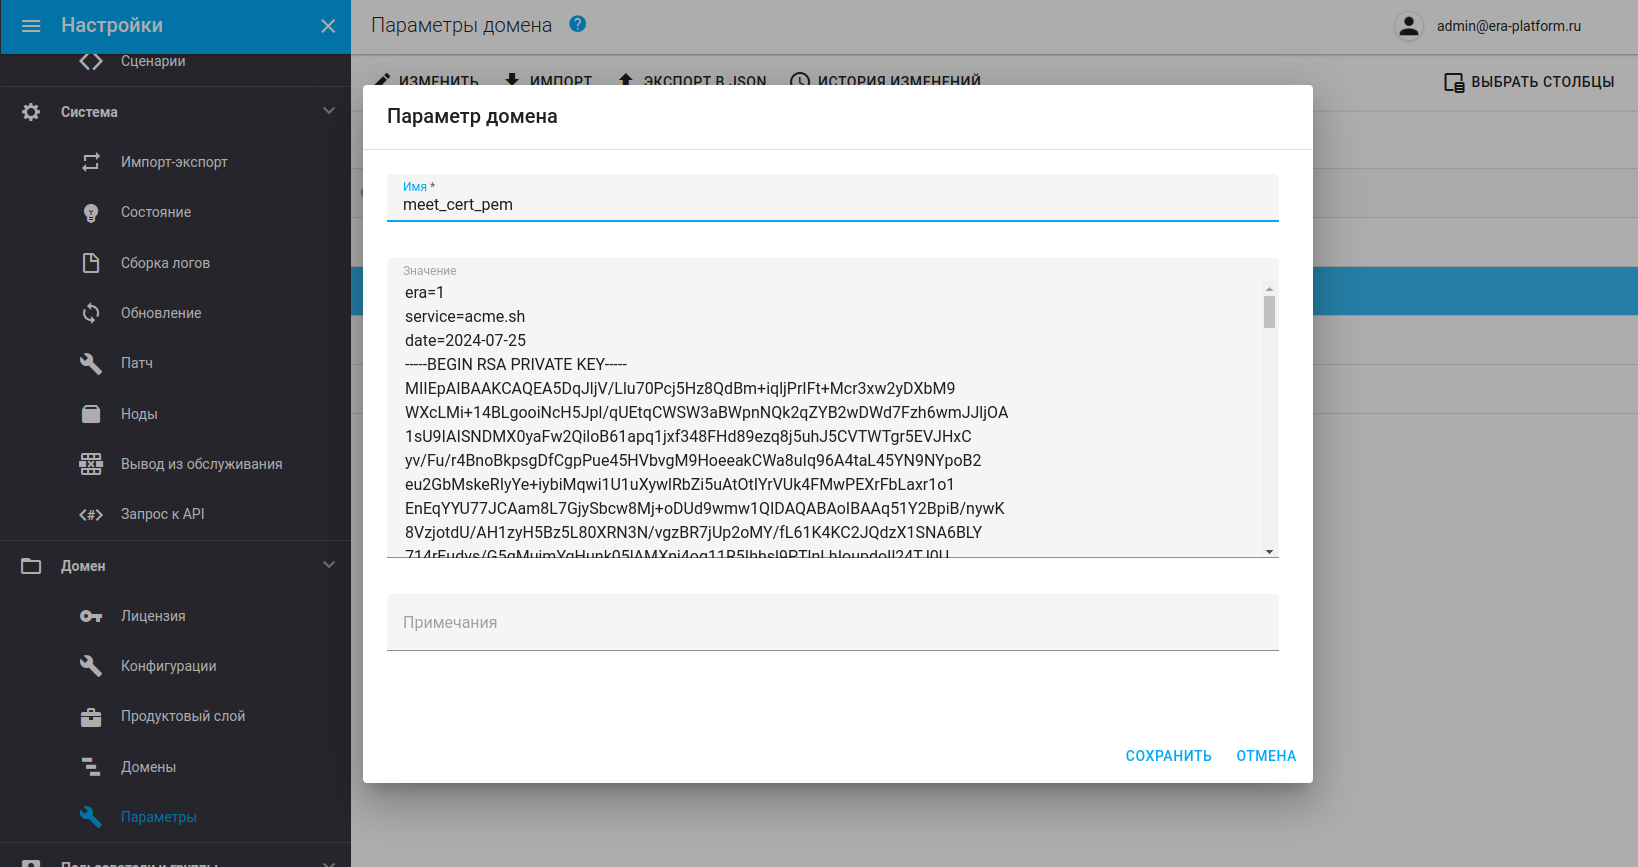
Specify certificates in the certificate_pem and meet_cert_pem parameters.
4.1. Open the "Domain" - "Parameters" section in the left menu.
4.2. Find the certificate_pem parameter and enter the certificate for the domain specified in item 1 in the Meet server configuration defaultDomain (in the example — develop.incoplax.com).
3.3. Find the meet_cert_pem parameter and enter the certificate for the domain specified in item 1 in the Meet server configuration defaultDomain (in the example — develop.incoplax.com).
5. Activate the meet role
The role is present in the configuration for 1 server created via the wizard in the "Settings" web application, but it is inactive.
A new server with the basic configuration is considered.
To activate:
5.1. Open the "Domain" - "Configurations" section in the left menu.
5.2. Copy the current active configuration.
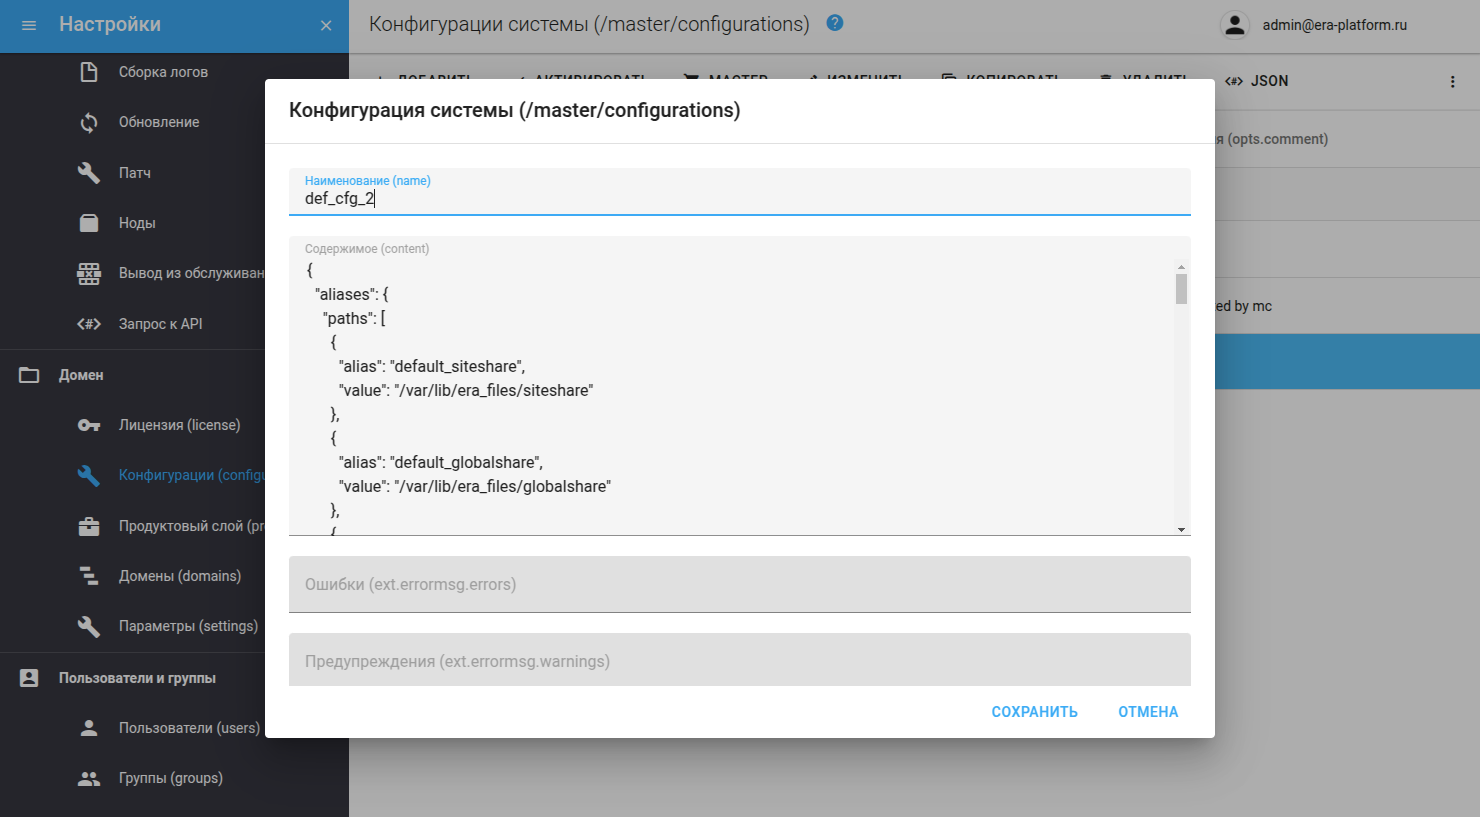
5.3. In the content find the meet role settings and set the role parameter "enabled": true.
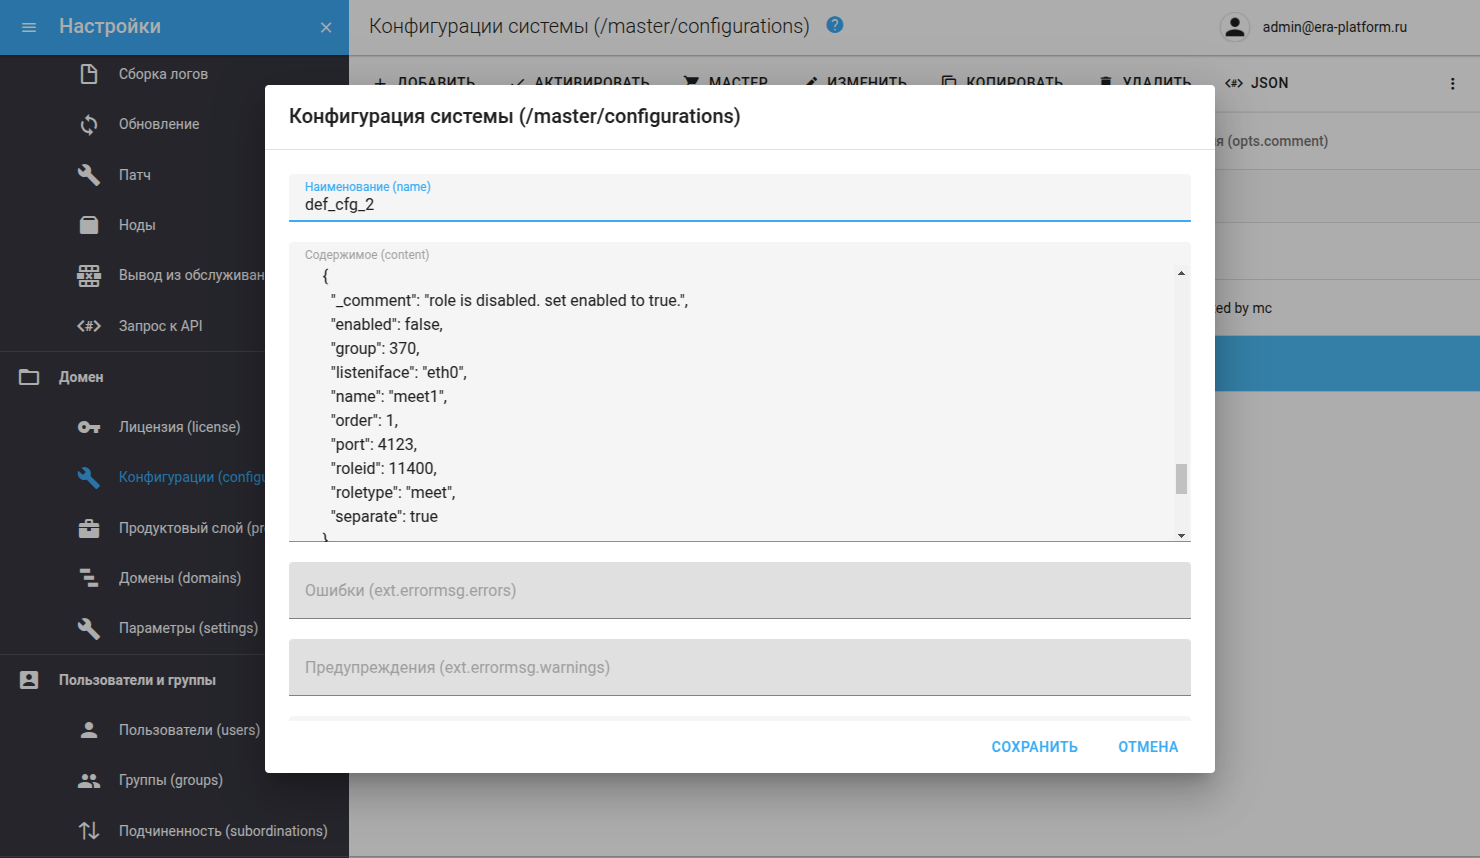
    {
      "_comment": "role is disabled. set enabled to true.",
      "enabled": true,
      "group": 370,
      "listeniface": "eth0",
      "name": "meet1",
      "order": 1,
      "port": 4123,
      "roleid": 11400,
      "roletype": "meet",
      "separate": true
    }
5.4. Save the configuration and activate it.
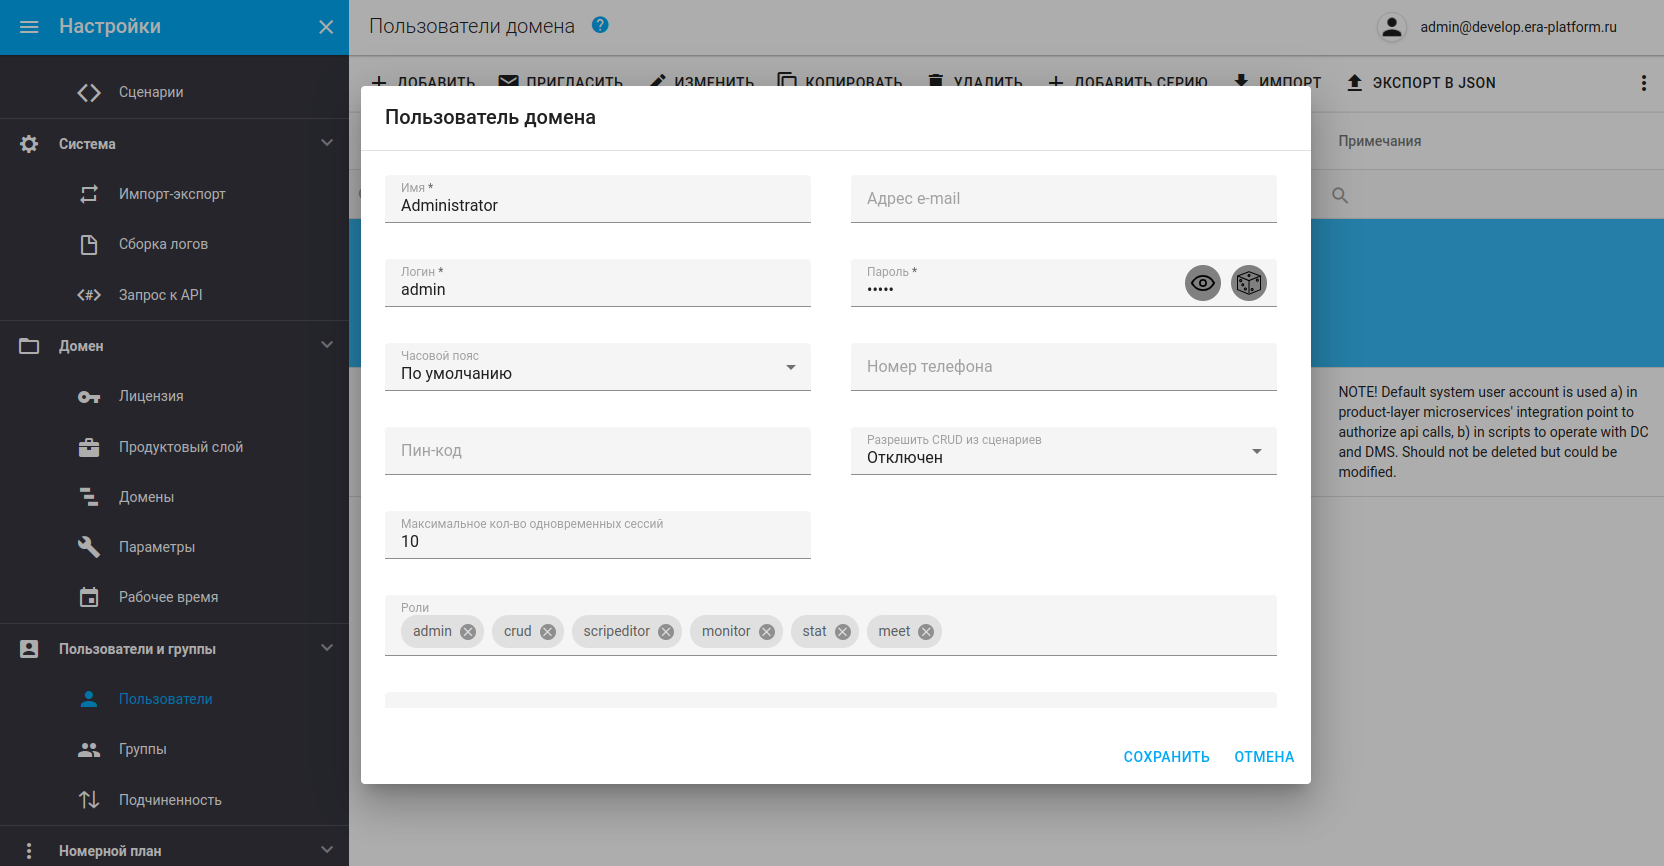
Verifying the result
-
Enter
https://develop.incoplax.comin the browser address bar (since the certificate is issued for this domain name) and log in specifying the domain develop.incoplax.com. -
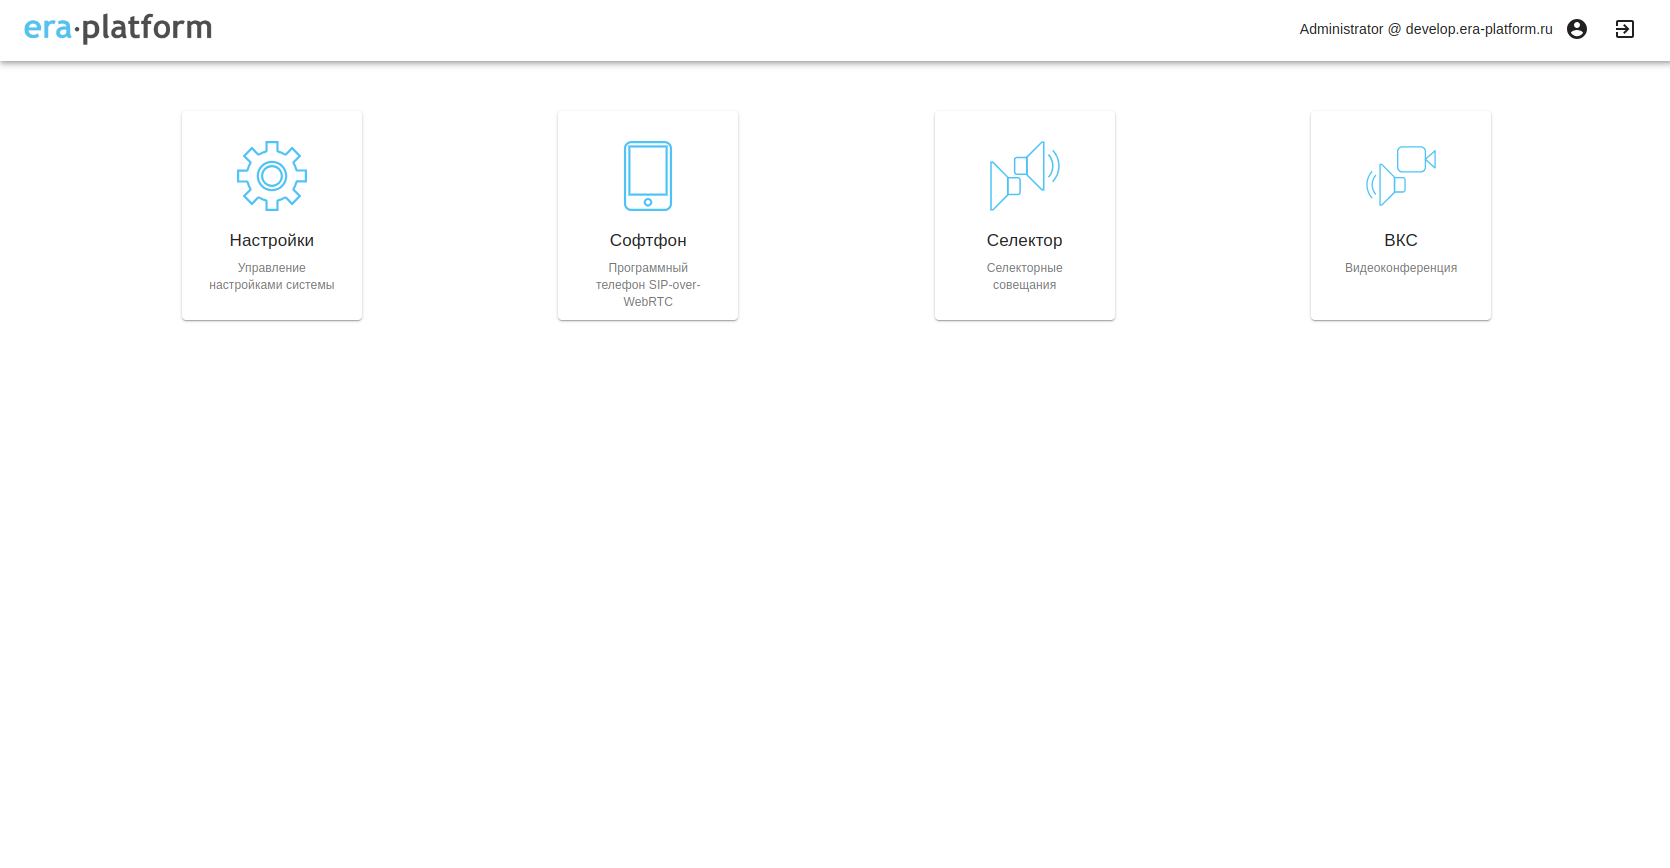
Launch the "Video conferencing" application (if the application is absent, refresh the page; it should appear within a minute after the meet role is assigned to the user).
-
Open the "Video conferencing" web application
-
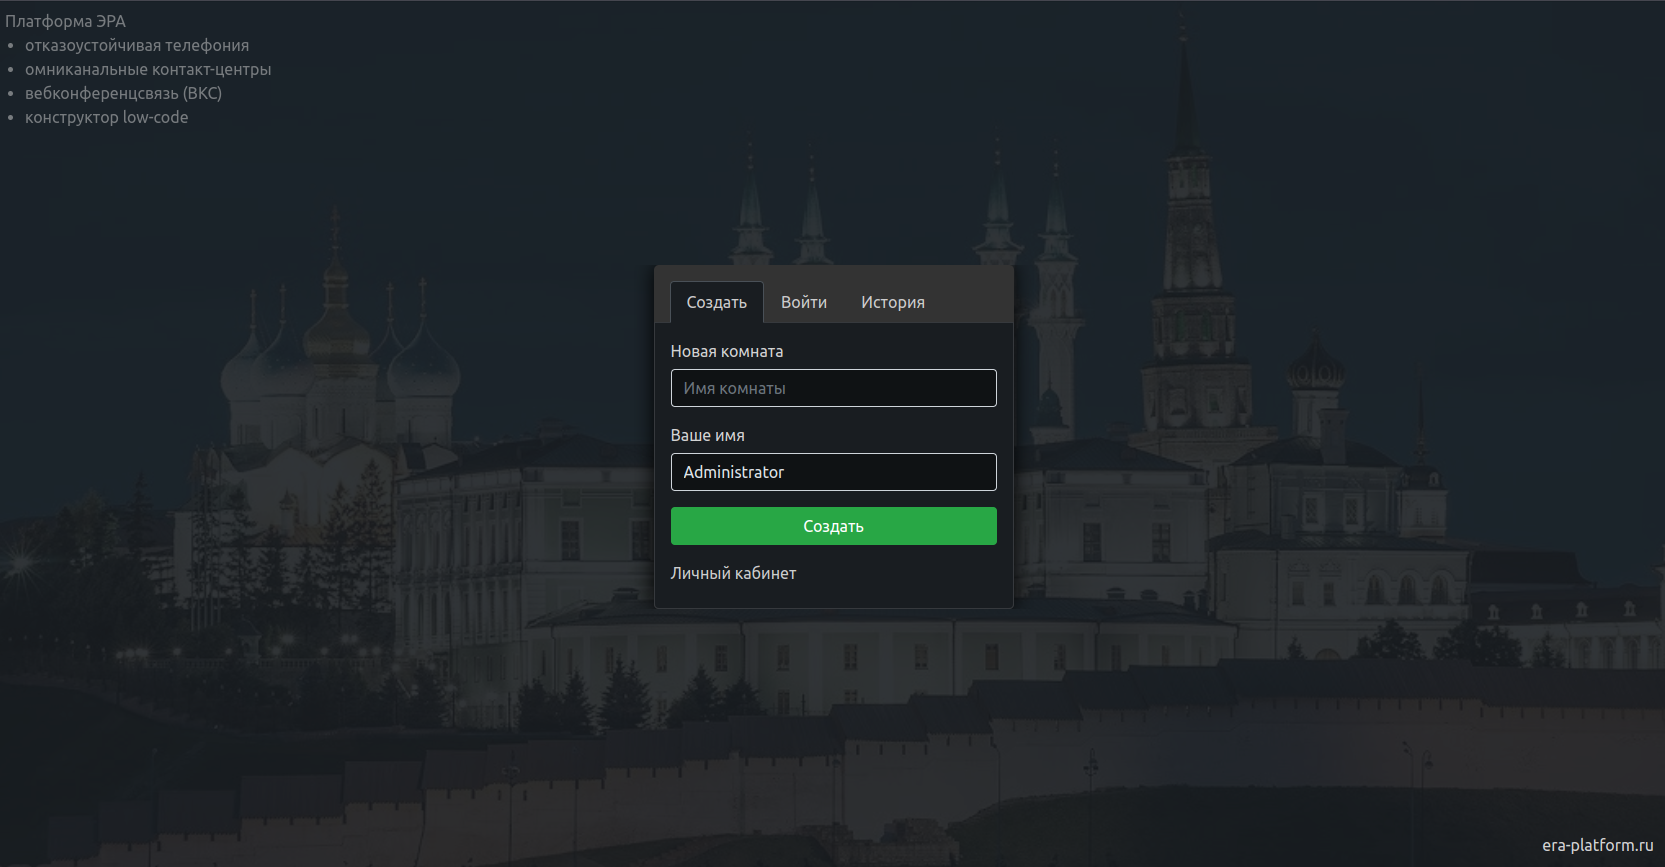
The Meet client application should be displayed
-
Create a room and check microphone and camera operation.
Verification is complete